Conker Crafts
DIY Conker Necklace and Keyring: Step-by-Step Guide
Conkers were made to be carried. They rattle in a coat pocket, get spun between fingers, and by November most of them are cracked and forgotten on a windowsill. Drill and seal one properly, though, and it will still be intact next autumn — hanging on a cord or jingling alongside your keys. The method is straightforward: a fortnight of drying, one clean hole, a couple of coats of sealer, and a length of cord. Twenty minutes of actual work, and most of that is waiting.
Choose the right conkers
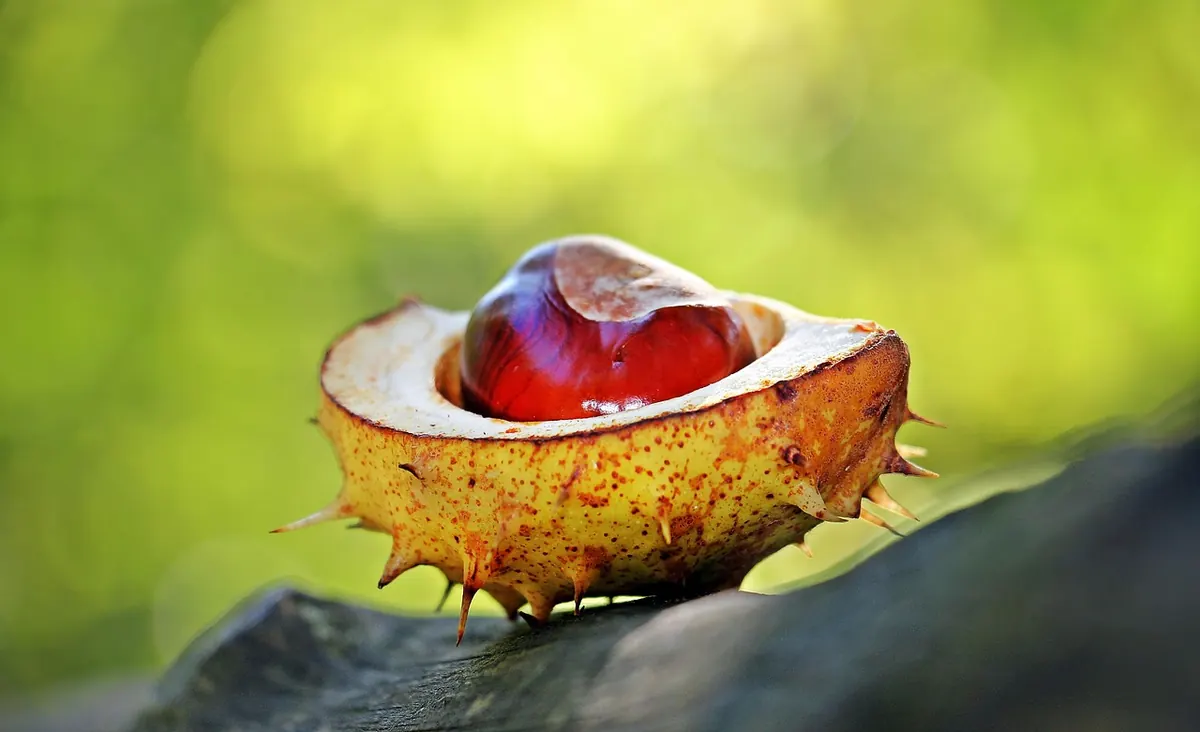
Pick from the tree where you can. Conkers that have sat on tarmac for a week are scuffed, waterlogged and already on their way out. Look for shells that feel heavy for their size, with an even, rounded shape and a rich mid-brown colour. The pale scar on one side — the hilum, where the conker met the husk — should be intact and firm, not lifting at the edges.
Gather at least twice as many as you need. Some will split while drying, some will have a soft grey patch you didn't spot in the rain, and one or two will have a neat little hole in the side where a weevil grub has already left. Set those aside.
Dry before you drill
A fresh conker is wet, and wet things shrink. String a necklace on a fresh one and the cord will hang loose within a month as the shell contracts around it. Worse, the strains inside a drying conker tend to relieve themselves as cracks.
Spread your haul in a single layer somewhere cool and airy — a garage, a shed shelf, a bowl in a spare room. Turn them every few days so they dry evenly. One to two weeks is usually about right. You are looking for a shell that has firmed up and darkened to a deep mahogany, and a conker that feels noticeably lighter without being hollow or rattly.
Don't rush it
A radiator or airing cupboard dries the outside faster than the inside, and that is exactly how you get a split down the side. If a conker ends up rock hard, it is still usable, but expect it to chip around the drill hole.
Some makers do the opposite — drill while the conker is still soft and slightly green, then dry it. It is genuinely easier on the drill bit, but the finished piece shrinks more and the knot can work loose. Drying first is the safer route for a first attempt.
Drill a clean hole
You need a 3mm bit for most cord, or 4–5mm if you want to use leather thong, paracord or ribbon. A pin vice or hand drill gives the most control; a power drill works fine on its slowest setting.
- Mark the line. Drill straight through the flat pale scar on top, down to the opposite pole. That gives the conker a natural vertical hang rather than a sideways slump.
- Make a pilot dent. Press an awl or the tip of a nail into the shell first. Without it, the bit skates across the glossy surface and scratches the finish.
- Clamp it. Folded cloth or two lolly sticks in the jaws of a vice or clamp. Firm, not crushing. Never hold a conker in your fingers while a drill is running.
- Back it up. Press a scrap of wood against the far side so the bit exits cleanly instead of blowing out a ragged hole.
- Go slowly. Low speed, light pressure, and clear the flutes every few seconds. Heat and wobble are what crack conkers.
- Test the hole. Run your cord through. If it snags, ream it gently with a needle file or a slightly larger bit turned by hand.
Wear safety glasses, and keep children away from the drill itself — they can take over from the sealing stage onwards.
Seal the surface
Sealing slows the drying process, hardens the shell and stops the conker picking up fluff from your pocket. There are three sensible options:
- Beeswax or wax polish. Warm the conker by rubbing it, work the wax in with a cloth, then buff. Matte, natural, easy to top up.
- Clear acrylic varnish or matte polyurethane. Two or three thin coats, drying in between. Harder-wearing and glossier, the best choice for a keyring.
- Diluted PVA glue. Roughly one part glue to one or two parts water. Cheap, quick, and a good base if you plan to paint or decoupage the conker.
Whichever you choose, coat the inside of the hole as well — a pipe cleaner or cotton bud does the job. Do this after drilling and after drying. Sealing a damp conker traps moisture inside and invites mould, and no amount of varnish will fix that. Let everything cure for at least a day before stringing.
String a conker necklace
Cut about 80cm of waxed cotton cord, hemp or leather thong — longer than you think you need, because you can always trim. Thread on a bead, then the conker, then a second bead. The beads stop the conker sliding along the cord and give the knots something to sit against.
Find the middle of the cord and tie a snug overhand knot below the lower bead. Bring the two ends together at the top and join them with a sliding knot — a fisherman's knot or a run of half-hitches — so the necklace length is adjustable. Try it on before trimming anything. A conker sits best at the sternum; too high and it looks like a choker, too low and it swings into everything you lean over.
Trim the ends, melt or whip them if the cord is synthetic, and put a small dab of glue on each knot. That last step is the difference between a necklace that survives a winter and one that comes apart in a coat pocket.
Build a keyring
There are two reliable approaches. The neatest is a small screw eye twisted into the drilled hole with a dab of glue on the threads, attached to a jump ring and then a split ring or keyring blank. The more rustic option is a 10–12cm loop of cord through the hole, knotted tightly, with a bead slid down over the knot to hide it, then joined to the keyring with a jump ring.
Keyrings take far more punishment than necklaces — pockets, bags, car doors, the bottom of a rucksack. Seal the conker twice, and pick a slightly flatter one so it doesn't bulge in your pocket. A pair or trio of conkers on the same ring looks good and spreads the wear.
Care, repairs and safety
Reapply wax once a year, or whenever the surface looks dull and dry. Keep conkers away from prolonged damp; if one gets soaked, let it dry slowly at room temperature rather than on a radiator. A hairline crack can often be stabilised by working a drop of PVA into the split, clamping it and leaving it overnight. If mould appears, wipe it off with a cloth, let the piece dry thoroughly somewhere airy, and reseal it.
A word on safety, because these are small hard objects that end up around necks and in pockets. Conkers are not edible — horse chestnuts contain aescin and will make you unwell if eaten. Keep finished necklaces and keyrings away from babies and toddlers, where they are both a choking and a strangulation risk, and away from pets and livestock; conkers are toxic to horses and dogs if chewed or swallowed. If a conker, bead, jump ring or screw eye is ever swallowed, seek medical advice straight away. This is a craft project, not a toy, and it isn't worth a trip to the vet or the doctor.
Make a few. Give them to the people who went conkering with you. By next October you'll have a pocketful again, and this time you'll know exactly what to do with them.
Photo: NoName_13 / Pixabay